Tips for Recording Superb Quality Audio for Video Productions
In producing a video, there’s plenty of factors to consider in order to hit a home run: cinematography, content and concept, marketing aspects, budget, timeline, and of course, the technical aspects for the audio. An inexperienced video entrepreneur cannot cut the mustard because of deeming audio as just the finishing touch to add (which is true) and just cutting the corners in the process of mixing up the audio and the video. If you’ve got a professional killer video but carry the misconception that the success of the video depends on the quality of video over the quality of the audio, you’re going come across as rather an amateur.
Each element in a video is equally important. As a matter of fact, audio is more important than the video images if it talks about the purpose and impact of each element. Therefore, a videographer shall not overlook any of these video elements and must anticipate the challenges in producing the sound.
There are a lot of pre-production steps that can be taken that will help prevent audio problems from occurring, and lots of measures taken in post-production to wipe out any flaw that may have already arisen. Herein we’ve rounded up the best practical tips to help you get the best audio quality for your video productions.
-
Go for Voiceovers
It’s always been the problem – shooting video and sound in an outdoor location where unwanted noise is inevitable. With enough preparation before the shoot, these potential dilemmas can be prevented. The perfect option is completing your performance in the post-production studio using ADR (Automatic Dialog Replacement). This is where the actors redo their lines in a sound-studio and apply to the video as a voice-over.
-
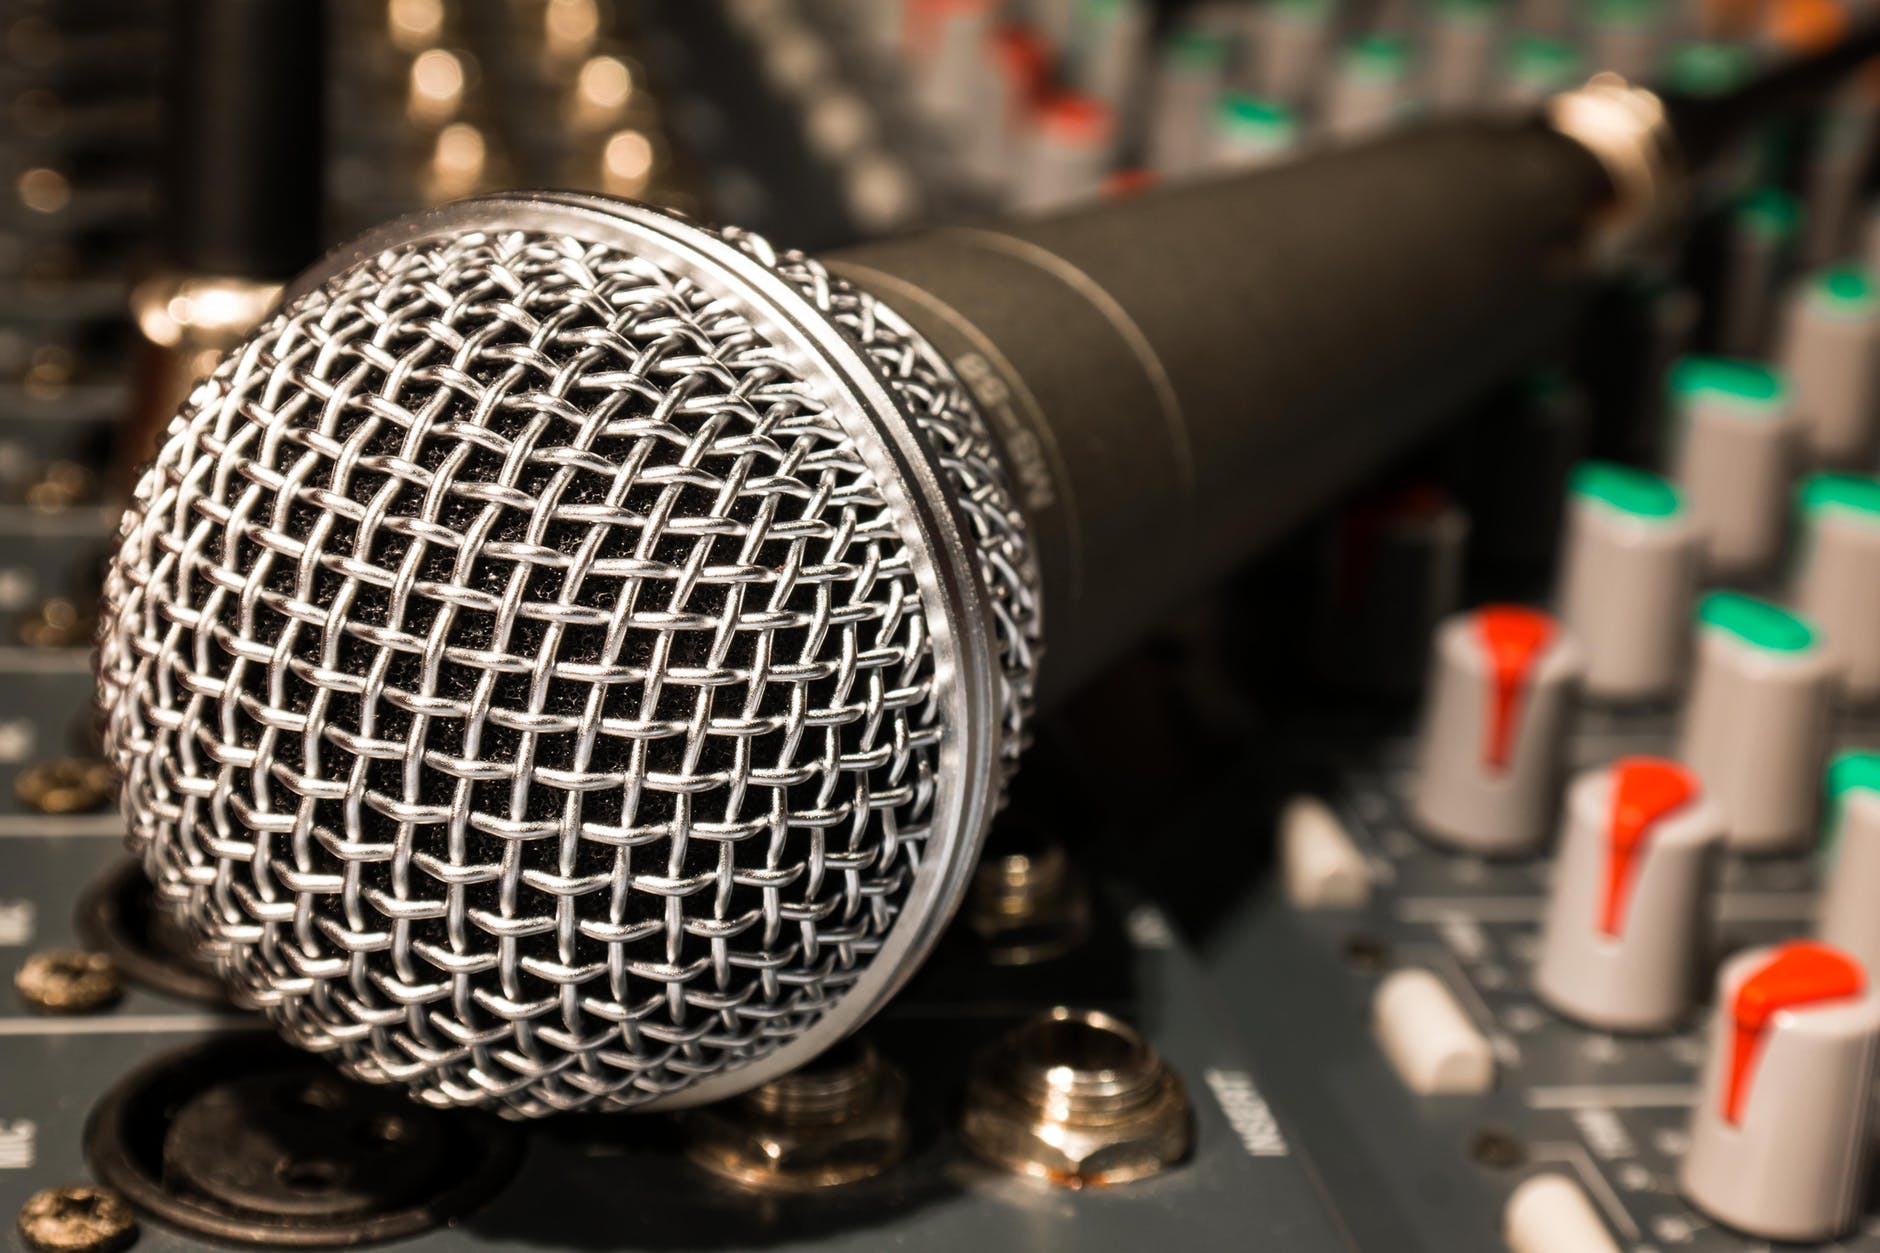
Right Equipment
Choosing the right equipment for voice recording can be confusing to videographers. The microphones that are commonly used in video production come in a variety of shapes and sizes, price and function, and each of these tools has a unique strength that allows them to capture better audio in a given situation. We strongly recommend investing in at least one auxiliary microphone for your camera setup.
-
Shooting location and Sound booth
If you are not fully counting on separate voiceovers, it’s better to scope out your shooting locations in advance so you can anticipate the challenges that could possibly lead to potential disasters. Say you are shooting outdoors, it’s very important to have the complete essentials in able to capture a high-quality recording amidst the wind noises, car horns, and other unnecessary noises that your camera recorder cannot filter out.
Apart from the camera and microphone, it’s an excellent decision to bring a good pair of headphones to identify problem noise sources. Why? Because what you hear through the microphone is sometimes different than what you can hear with just your ears. That slight strike of breeze that you have subconsciously blocked out may seem much louder when listening through your headphones.
The primary recording equipment are not enough; it’s the best that you have the protection for any background noise and the proper treatment to control the sound reflections within the space. Wind and weather protection for you microphones like shock mount that will eliminate most of the vibration, rumbling and handling noise, and acoustic treatment if you are recording in a studio are the tools to not underestimate whether you are shooting indoor or outdoor.
-
Superb Audio Software for Post Production
Less is more in the post-production if things were handled right in the production because well begun is half done. On that account, the last thing that you should give the utmost importance apart from the video editors is the audio editing software. Well-dedicated audio applications like Peak Pro (for Apple users), Sound Forge (for Windows), Adobe Audition, Audacity, and the list goes on – are what will give you more audio editing power. It is important to have adequate knowledge of maximizing the audio editing features since it is considered the final stage of your production where all the polishing happens.
There are also stand-alone applications dedicated to removing the background noise that has been captured – Audio Restoration Software. It can help you reduce problematic audio situations like background noise, clicks, pops, crackles, and wind noise. 60 cycle hum (a term that audio professionals use to refer to that nasty humming sound that electronics sometimes produce), low-frequency rumble, and switching noise all fall under the category of undesirable sounds that restoration software can improve. There are many options out there, from the streamlined Soundsoap to the more involved Waves Restoration Bundle, each offering different levels of power, detail, and versatility.
Did you find these tips useful? We’d love to hear what you’ve got to say, share it with us in the comment section below!