

Snap, Pause, Go Again: How New Voice Actors Edit Their First Raw Recording
You’ve recorded your first long script and now there’s a forty minute file full of stumbles, coughs and re-reads waiting for you. Here’s how working voice actors and audio engineers say to handle mistakes as you record, what to do with room tone and breaths, and how much clean-up is too much.
Nobody tells beginners that the reading is only half the job. Once the session ends, someone has to turn the raw recording into a clean file a client can drop straight into a video, a course or an audiobook. When you work from home, that someone is you.
Dallas voice actor Caroline Turner Cole sets the bar in a guide for the training company Such A Voice: “every voice-over actor should be proficient enough to edit at least 15 minutes of audio to a professional standard.” That sounds like a lot when you’re starting out. It gets much easier with a few habits you build while you’re still in the booth.
Don’t stop the tape
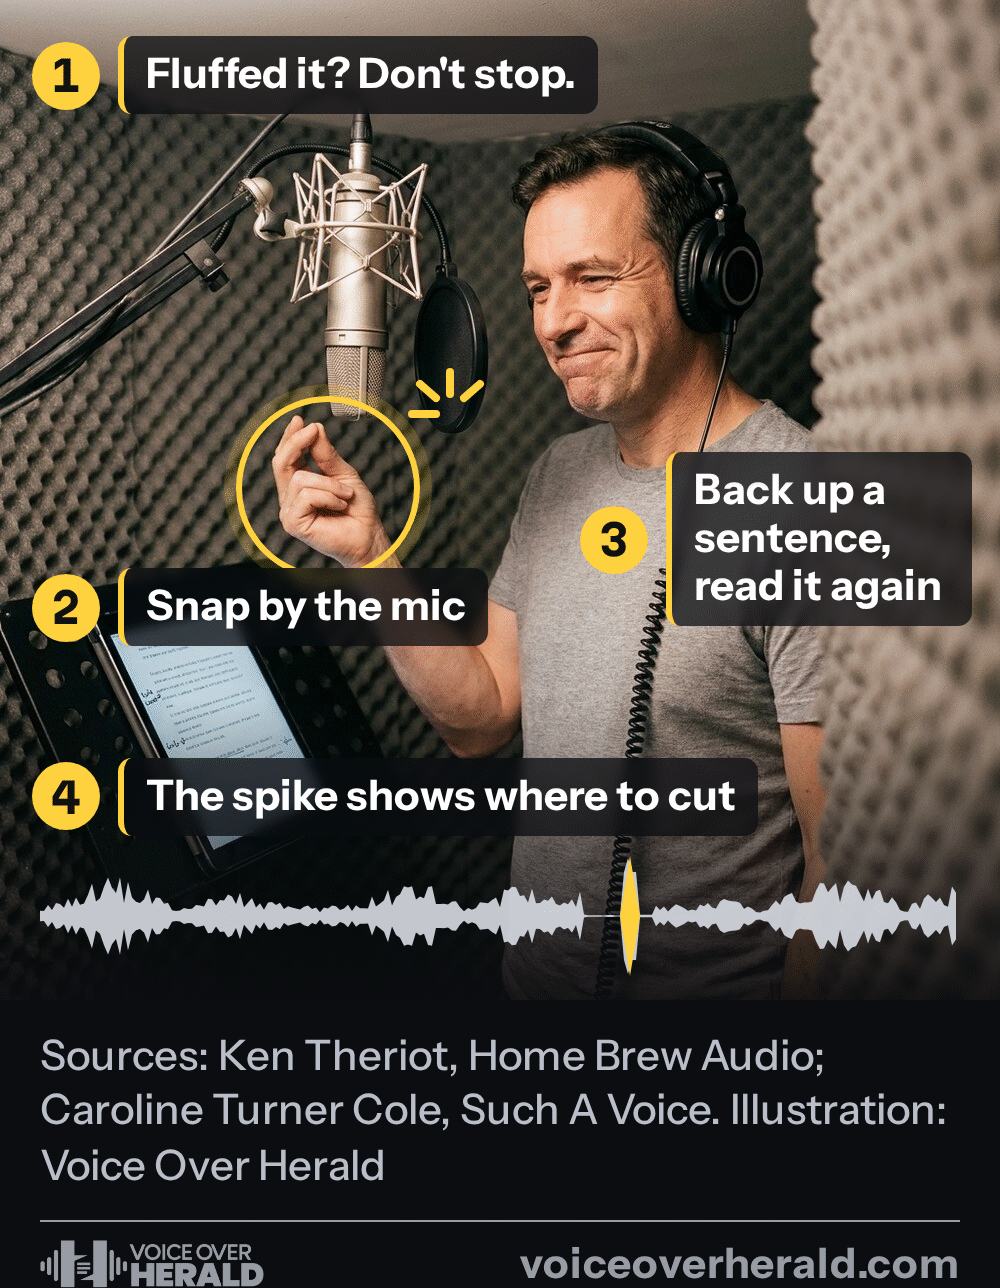
When you fluff a line, the instinct is to stop, delete the bad bit and start again. Ken Theriot, who teaches home recording at Home Brew Audio, says that’s the slow way. “Stop recording to delete every mistake and re-read the part each and every time it happens,” he writes. “Yeah, that’s an option. But if you do it this way, you’re going to be working on that job for a very long time.”
His advice is simpler: “Never stop recording. When you make a mistake simply wait a second then go back and re-read the part and continue.” You keep your rhythm and do all the fixing later in one go.
 VoiceEditSuiteYour breath. Your pace. Your edit.Auto Clean Up learns your pace from every file and puts your own pause back wherever it cuts a mistake.See how it worksLearns from numbers, never your audio. Never used to train AI.
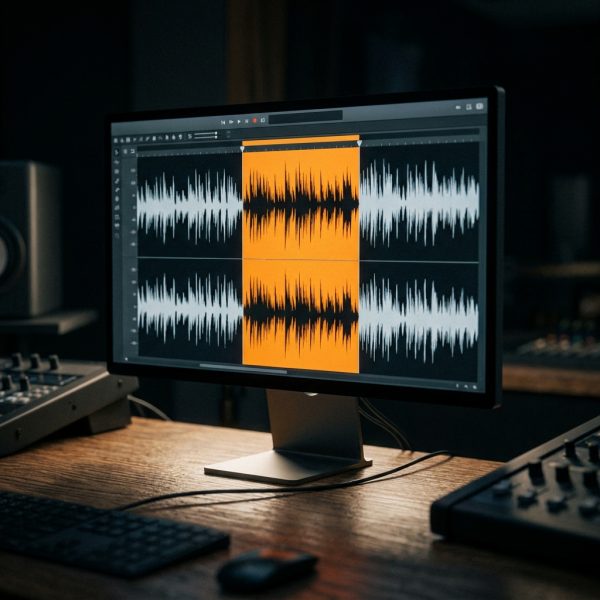
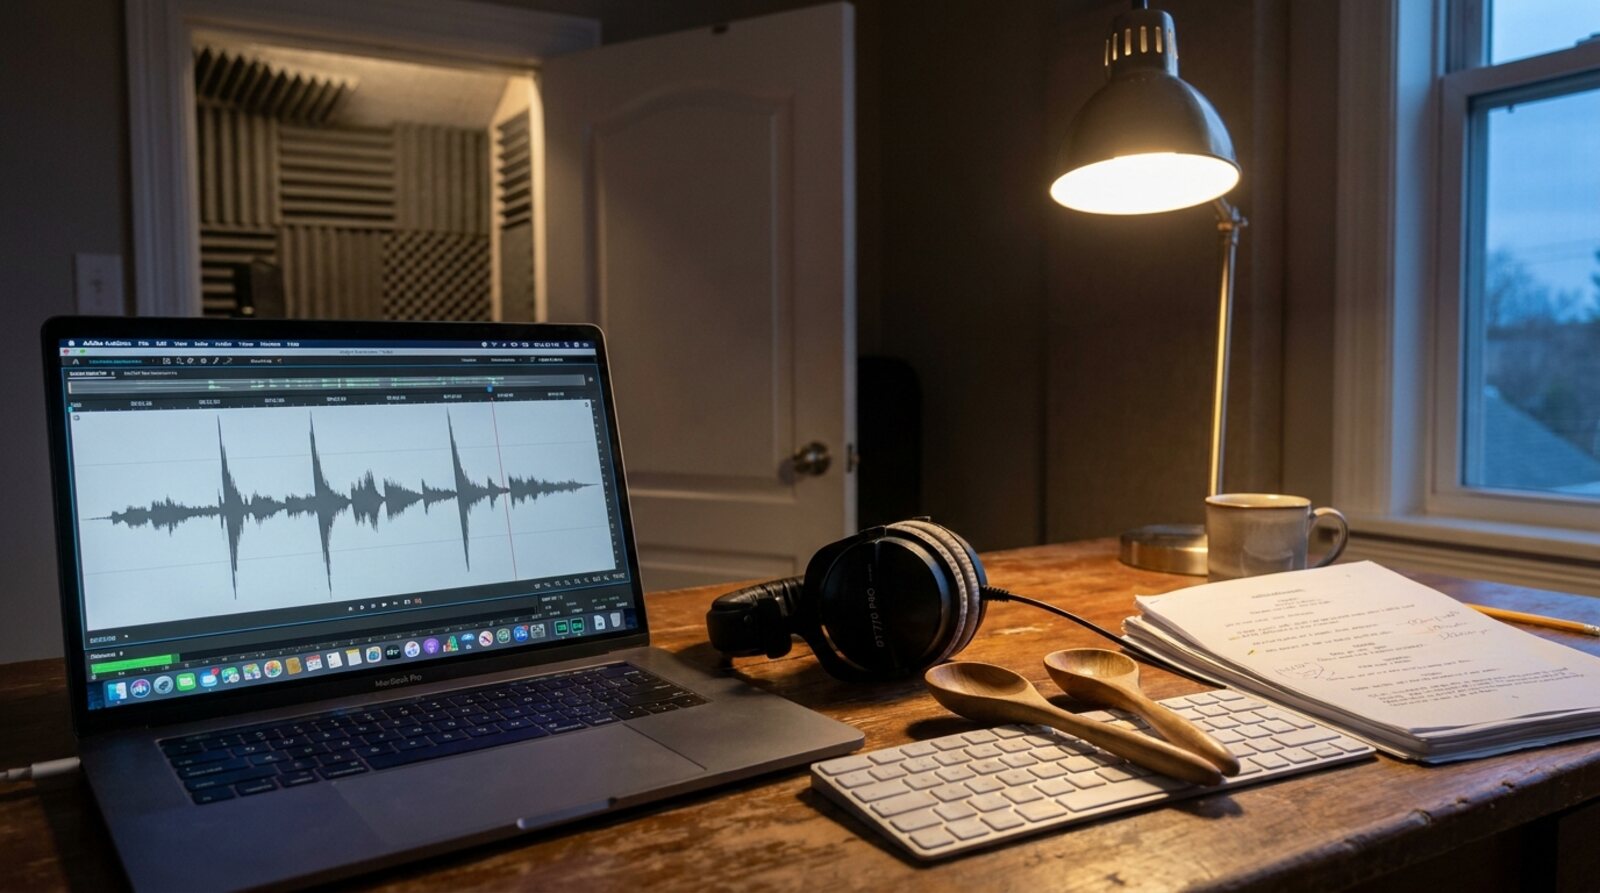
The trick that makes this work is a marker you can see. Right after the mistake and before the re-read, make one loud, sharp sound close to the mic. Theriot snaps his fingers or taps a pair of wooden percussion spoons, because “the goal is to leave a visual mark in the audio”. On screen, those spikes “stand out like a sore thumb” next to speech, so you zoom straight to each one and delete the spike and the mistake together. He says it took him “all of about 45 seconds” to clear four edit points on one job.
Make it loud, though. Theriot describes recording with someone who marks her mistakes by blowing a raspberry, “which makes no obviously different wave form cue”, so he has to listen to the whole file to find them. Turner Cole gives the same instruction in her guide: pause, “Then snap, clap, or click your tongue before starting the sentence or phrase again.” Pick one and use it every time.
Punch and roll, when you’d rather fix it now
Some voice actors prefer to fix as they go, and most recording software can do it neatly. Audacity calls it Punch and Roll. You click just before the mistake and press Shift + D. Audacity deletes everything after that point, plays back a few seconds of what you’d already recorded so you can match it, then starts recording as you come in. You read along with the playback and keep going.
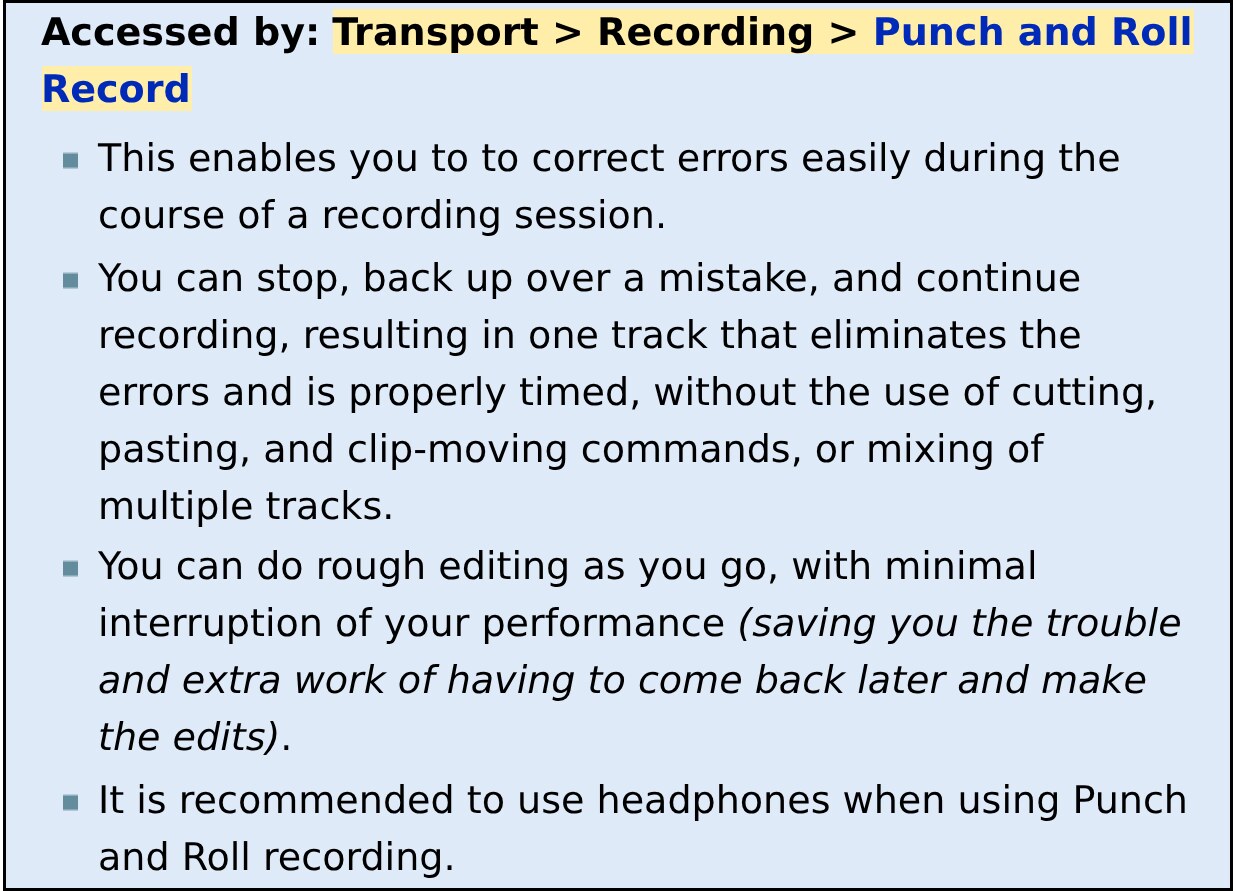
Screenshot: Audacity Manual, Punch and Roll Record page, 12 November 2026
The defaults are listed in Audacity’s recording preferences: five seconds of pre-roll playback, and a 10 millisecond crossfade at the splice so there’s no click where old and new audio meet. The manual says “It is recommended to use headphones when using Punch and Roll recording”, because otherwise the mic can pick up the playback from your speakers.
The snap method is faster to record and slower to edit; punch and roll is the reverse. Try both on a practice script and keep whichever lets you stay in the read.
Room tone is the sound of your room doing nothing
Every room makes a little noise, even a good booth. Room tone is a few seconds of that sound with you sitting silently, and you need it. Turner Cole’s habit is to “wait three to five seconds to record ambient room tone at the top of the recording” before saying a word.
You use it in two ways. First, to fill gaps: if you cut a cough or a breath and leave pure digital silence, the background drops out and comes back, and listeners hear the hole. Paste room tone in instead. Second, as padding at each end of a file. For audiobooks, the ACX audio submission requirements say: “We recommend between 1 and 5 seconds of room tone at the beginning and end of each file for an ideal listening experience.” They add: “Room tone spacing must not exceed 5 seconds.” The same page asks for files free of “plosives, microphone pops, mouse clicks, excessive mouth noise, and outtakes”, and for a noise floor no higher than minus 60 dB RMS.
Breaths: it depends on the job
Should you cut every breath? Paul Schmidt, also writing for Such A Voice, starts with the client: “If the client says do, do. If the client says don’t, don’t.” When nobody says, the answer changes with the genre. On commercials he cuts them; on narration he usually leaves them alone and only turns down the ones that jump out.
“For commercial work, most casting and talent agents I’ve heard speak on the topic prefer that breaths be edited out,” he writes. But a cut breath leaves a gap: “If you’re going to edit out your breaths, you must take care to preserve natural pauses where the breaths were originally. This often can be done best by replacing the breath with the same duration of room tone.”
Usually cut
Take breaths out unless you’ve been told to keep them, and fill each gap with the same length of room tone so the pace stays natural.
Usually keep
Leave breaths in as part of the read. Lower the odd loud one that has no reason to be there, and tidy any mouth noise around it.
For long-form work it’s the other way round. “Typically, you would not edit out breaths in a narration,” Schmidt writes, naming corporate, medical, technical and e-learning scripts as well as audiobooks. “Besides, you don’t want to edit the breaths out of a 13-hour audiobook.” ACX’s own blog agrees: “no, not all breaths need to be removed”, only the ones that are noticeably distracting.
Whichever way the job goes, Schmidt’s test is the one to remember: “Left in or left out, breathing should never be a distraction to the performance.” If you’re a loud breather, the fix starts at the mic. He suggests shorter, more frequent breaths and backing off an inch or two if you work very close. Our guide to mic technique for new voice actors covers distance and angle in more detail.
Go easy on the clean-up plugins
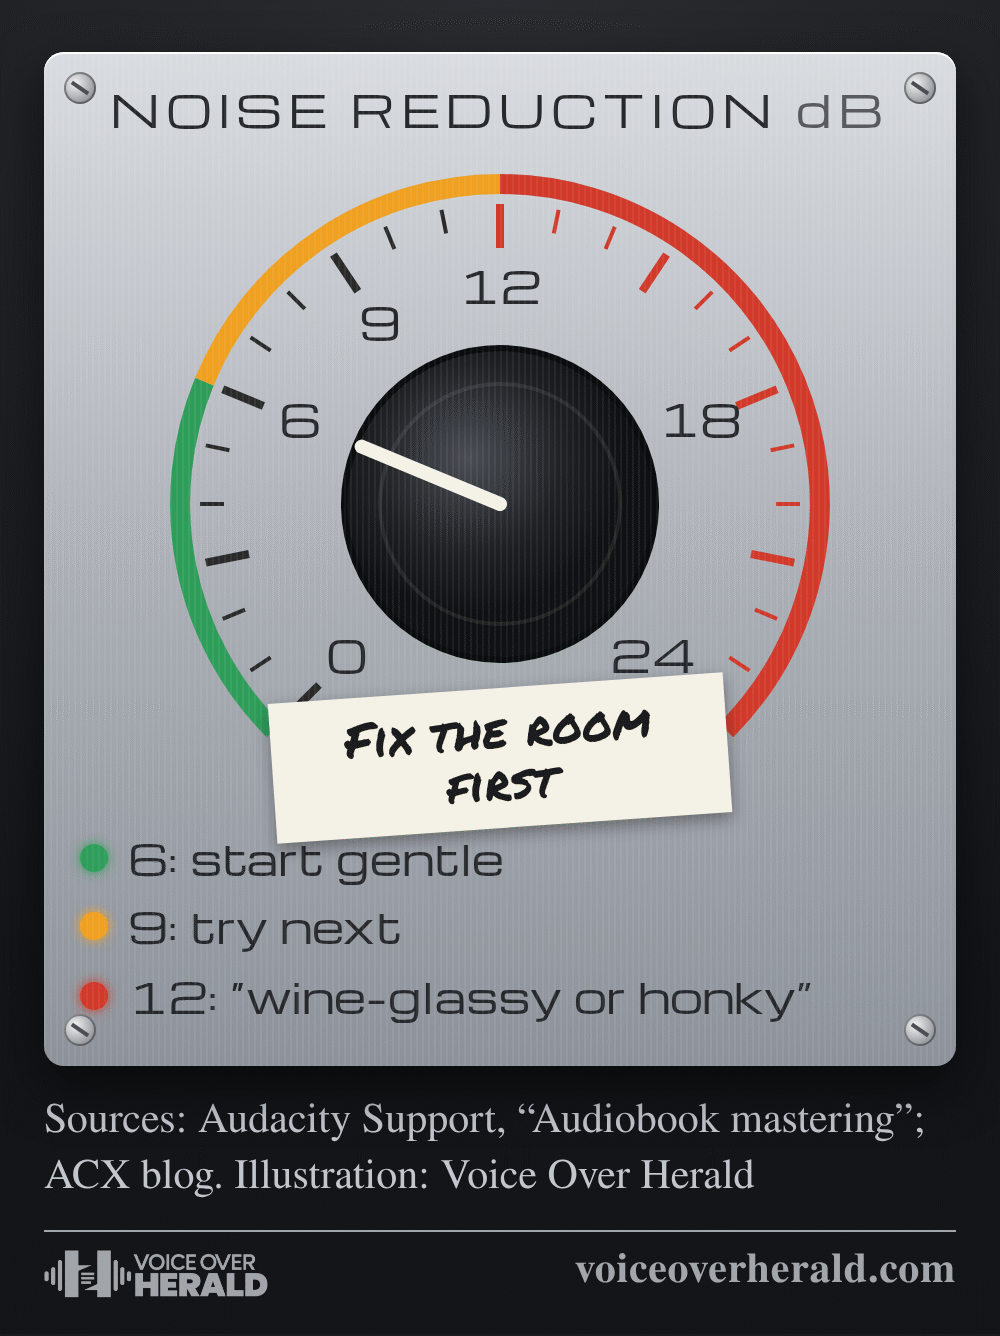
Noise reduction looks like magic the first time you try it. Used heavily, it makes a voice sound thin and metallic. In an ACX blog series on why audiobooks fail quality checks, Scott Jacobi writes that buzzing, ringing and odd metallic sounds are a sign of a bad room or a flawed recording chain, and that “Leaving them to be fixed after the fact, in post-production, is a recipe for disaster.”
He goes further: “The improper use of noise reduction to remove these sounds often results in an overly processed and poor sounding audiobook that may be rejected by the ACX QA team.” Audacity’s own audiobook mastering guide says the same with less tact, and spells out how gently to start and where the trouble begins.
So treat plugins as the last step, not the rescue plan. Fix the noise at the source first: switch off the fan, move the laptop out of the booth, hang another blanket. Turner Cole’s guide puts it plainly: “if your computer has a fan that makes noise, leave it outside the recording space.” Then edit by hand, and only then reach for gentle processing if you still need it.
Before you hit send
The last pass is the one beginners skip. Play the whole file from start to finish with headphones on, without looking at the screen, and listen like the client will. Turner Cole’s checklist includes going back to “edit out any loud breaths or obvious mouth clicks” at this stage. Listen for snaps you missed, clipped words and any spot where the room sound suddenly disappears.
Then check the brief. Some clients ask for raw, unprocessed audio with only the mistakes taken out; others want a finished, levelled file. If you’re not sure, ask before you export. Name files exactly as the client asked, and if it’s an audiobook, follow ACX’s rules to the letter: one chapter per file, each file starting with its section header, and every file the same format.
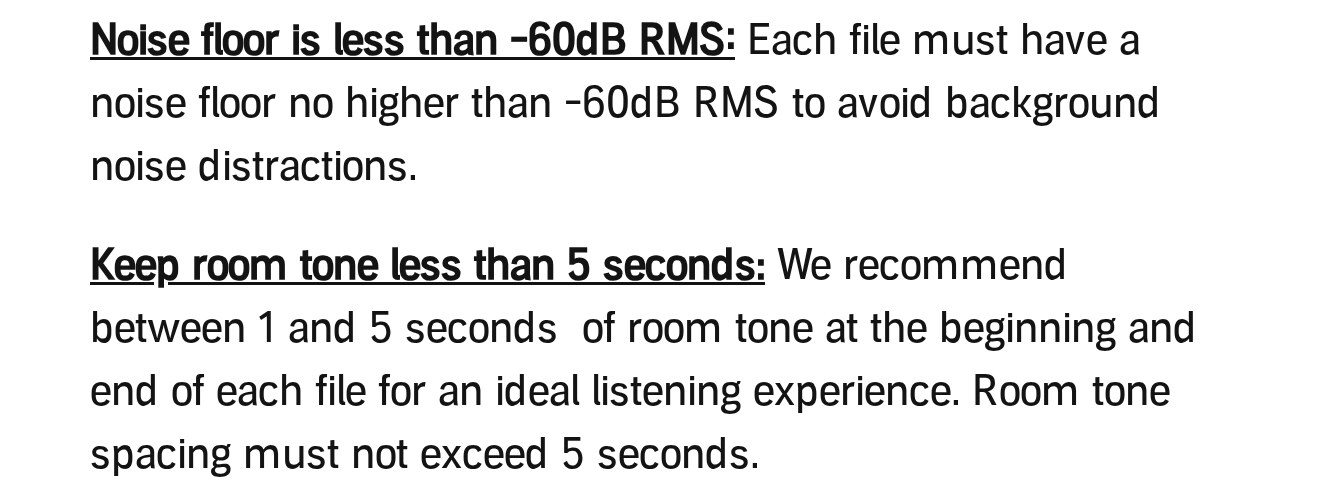
Screenshot: ACX audio submission requirements, help.acx.com, 12 November 2026
Your first edit will take far longer than the recording did. That’s normal. With a loud snap, a few seconds of room tone and a light touch on the plugins, the gap closes quickly, and clients notice files that arrive clean.
Sources: ACX, “ACX audio submission requirements” (help.acx.com); Scott Jacobi, “Why Did My Title Fail QA? Part 4”, ACX blog, 17 January 2013; Ken Theriot, “How To Finish Long Voice-Over Jobs Faster”, Home Brew Audio (homebrewaudio.com), updated 30 July 2025; Caroline Turner Cole, “Editing Basics for the Technologically Challenged”, Such A Voice, 25 February 2021; Paul Schmidt, “To Breathe, or Not to Breathe: Editing Breaths 101”, Such A Voice, 3 June 2021; Audacity Manual, “Punch and Roll Record” and “Recording Preferences” (manual.audacityteam.org); Audacity Support, “Audiobook mastering” (support.audacityteam.org).
Lee este artículo en español: Chasquido, pausa y otra vez: así editan los locutores principiantes su primera grabación en bruto
Know something about this story, or spotted an error? Tell the newsroom.